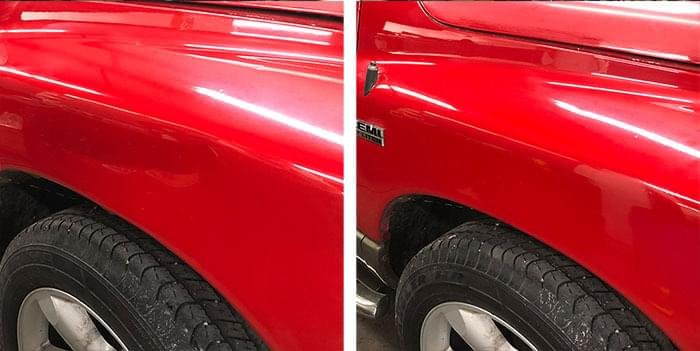
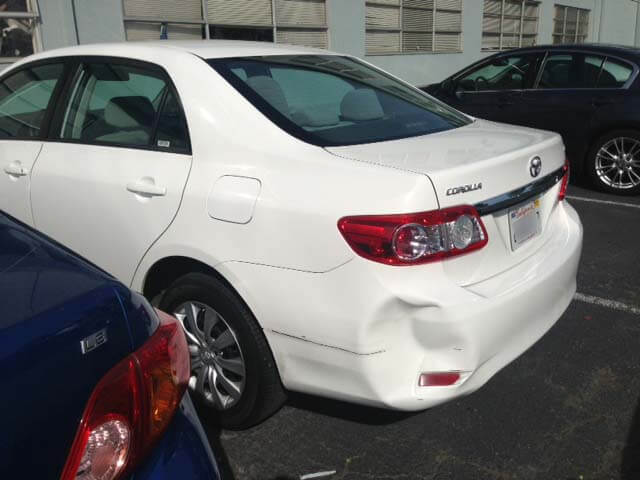
For a mobile dent repair quote, a technician usually needs clear photos that show the dent from several useful angles, the surrounding panel, and the vehicle itself.
A straight-on photo, an angled view that catches reflections across the dent, and a wider image showing the dent’s location can make the damage easier to assess. You should also provide the vehicle’s year, make, model, and information about cracked paint, previous repairs, or how the damage happened.
Good photos can help a technician estimate the size, depth, shape, and location of a dent before a mobile appointment. They can also show whether the damage crosses a body line or sits close to an edge. However, pictures cannot reveal every factor involved in paintless dent repair, especially what is behind the exterior panel.
For Charlotte drivers considering mobile repair, taking the right three photos can make the initial assessment much more useful.
What Makes a Door Body Line Dent Different?
When photographing a dent, its relationship to the contours of the vehicle matters. A dent in the middle of a relatively flat door panel is different from one that crosses a stamped body line, sits beside a panel edge, or extends across several contours.
Body lines are the ridges, curves, and defined shapes stamped into exterior panels during manufacturing. When a dent falls directly on one of these areas, the technician needs to see how much of the original contour has moved.
This is particularly important for car door body line dent repair. A close-up that shows only the deepest point may hide the way the surrounding metal has changed.
Which Three Views Make a Dent Easier to Assess?
If you can submit only a few images, three different views are usually more helpful than three nearly identical close-ups.
Start with a wider photograph. Stand far enough away to show the entire damaged panel or most of it. This gives the technician context and helps establish exactly where the dent sits on the vehicle.
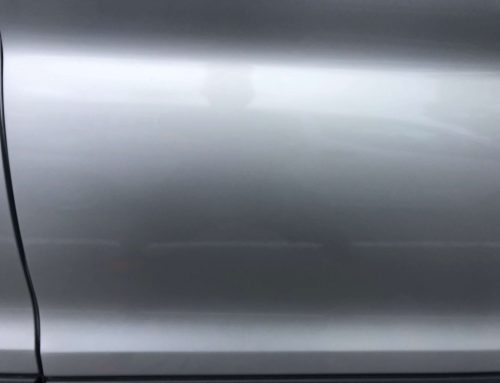
Next, take a closer image from an angle rather than directly in front of the dent. Photograph damage from roughly four or five feet away at approximately a 45-degree angle. This type of angle can make panel distortion easier to see because reflections travel across the damaged area.
Finally, take a second angled or straight-on image that shows the dent from the opposite direction. If a body line passes through the damage, make sure that contour is visible.
Together, the three photos should answer three basic questions: Where is the dent? What shape is it? How has the surrounding panel moved?
Avoid filling every submission slot with extreme close-ups. A close image may show a scratch clearly while providing very little information about the actual dent.
How Reflections Reveal Depth Without Editing the Image
Reflections are extremely useful when evaluating automotive sheet metal.
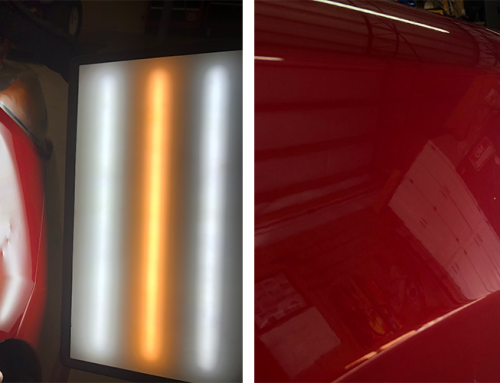
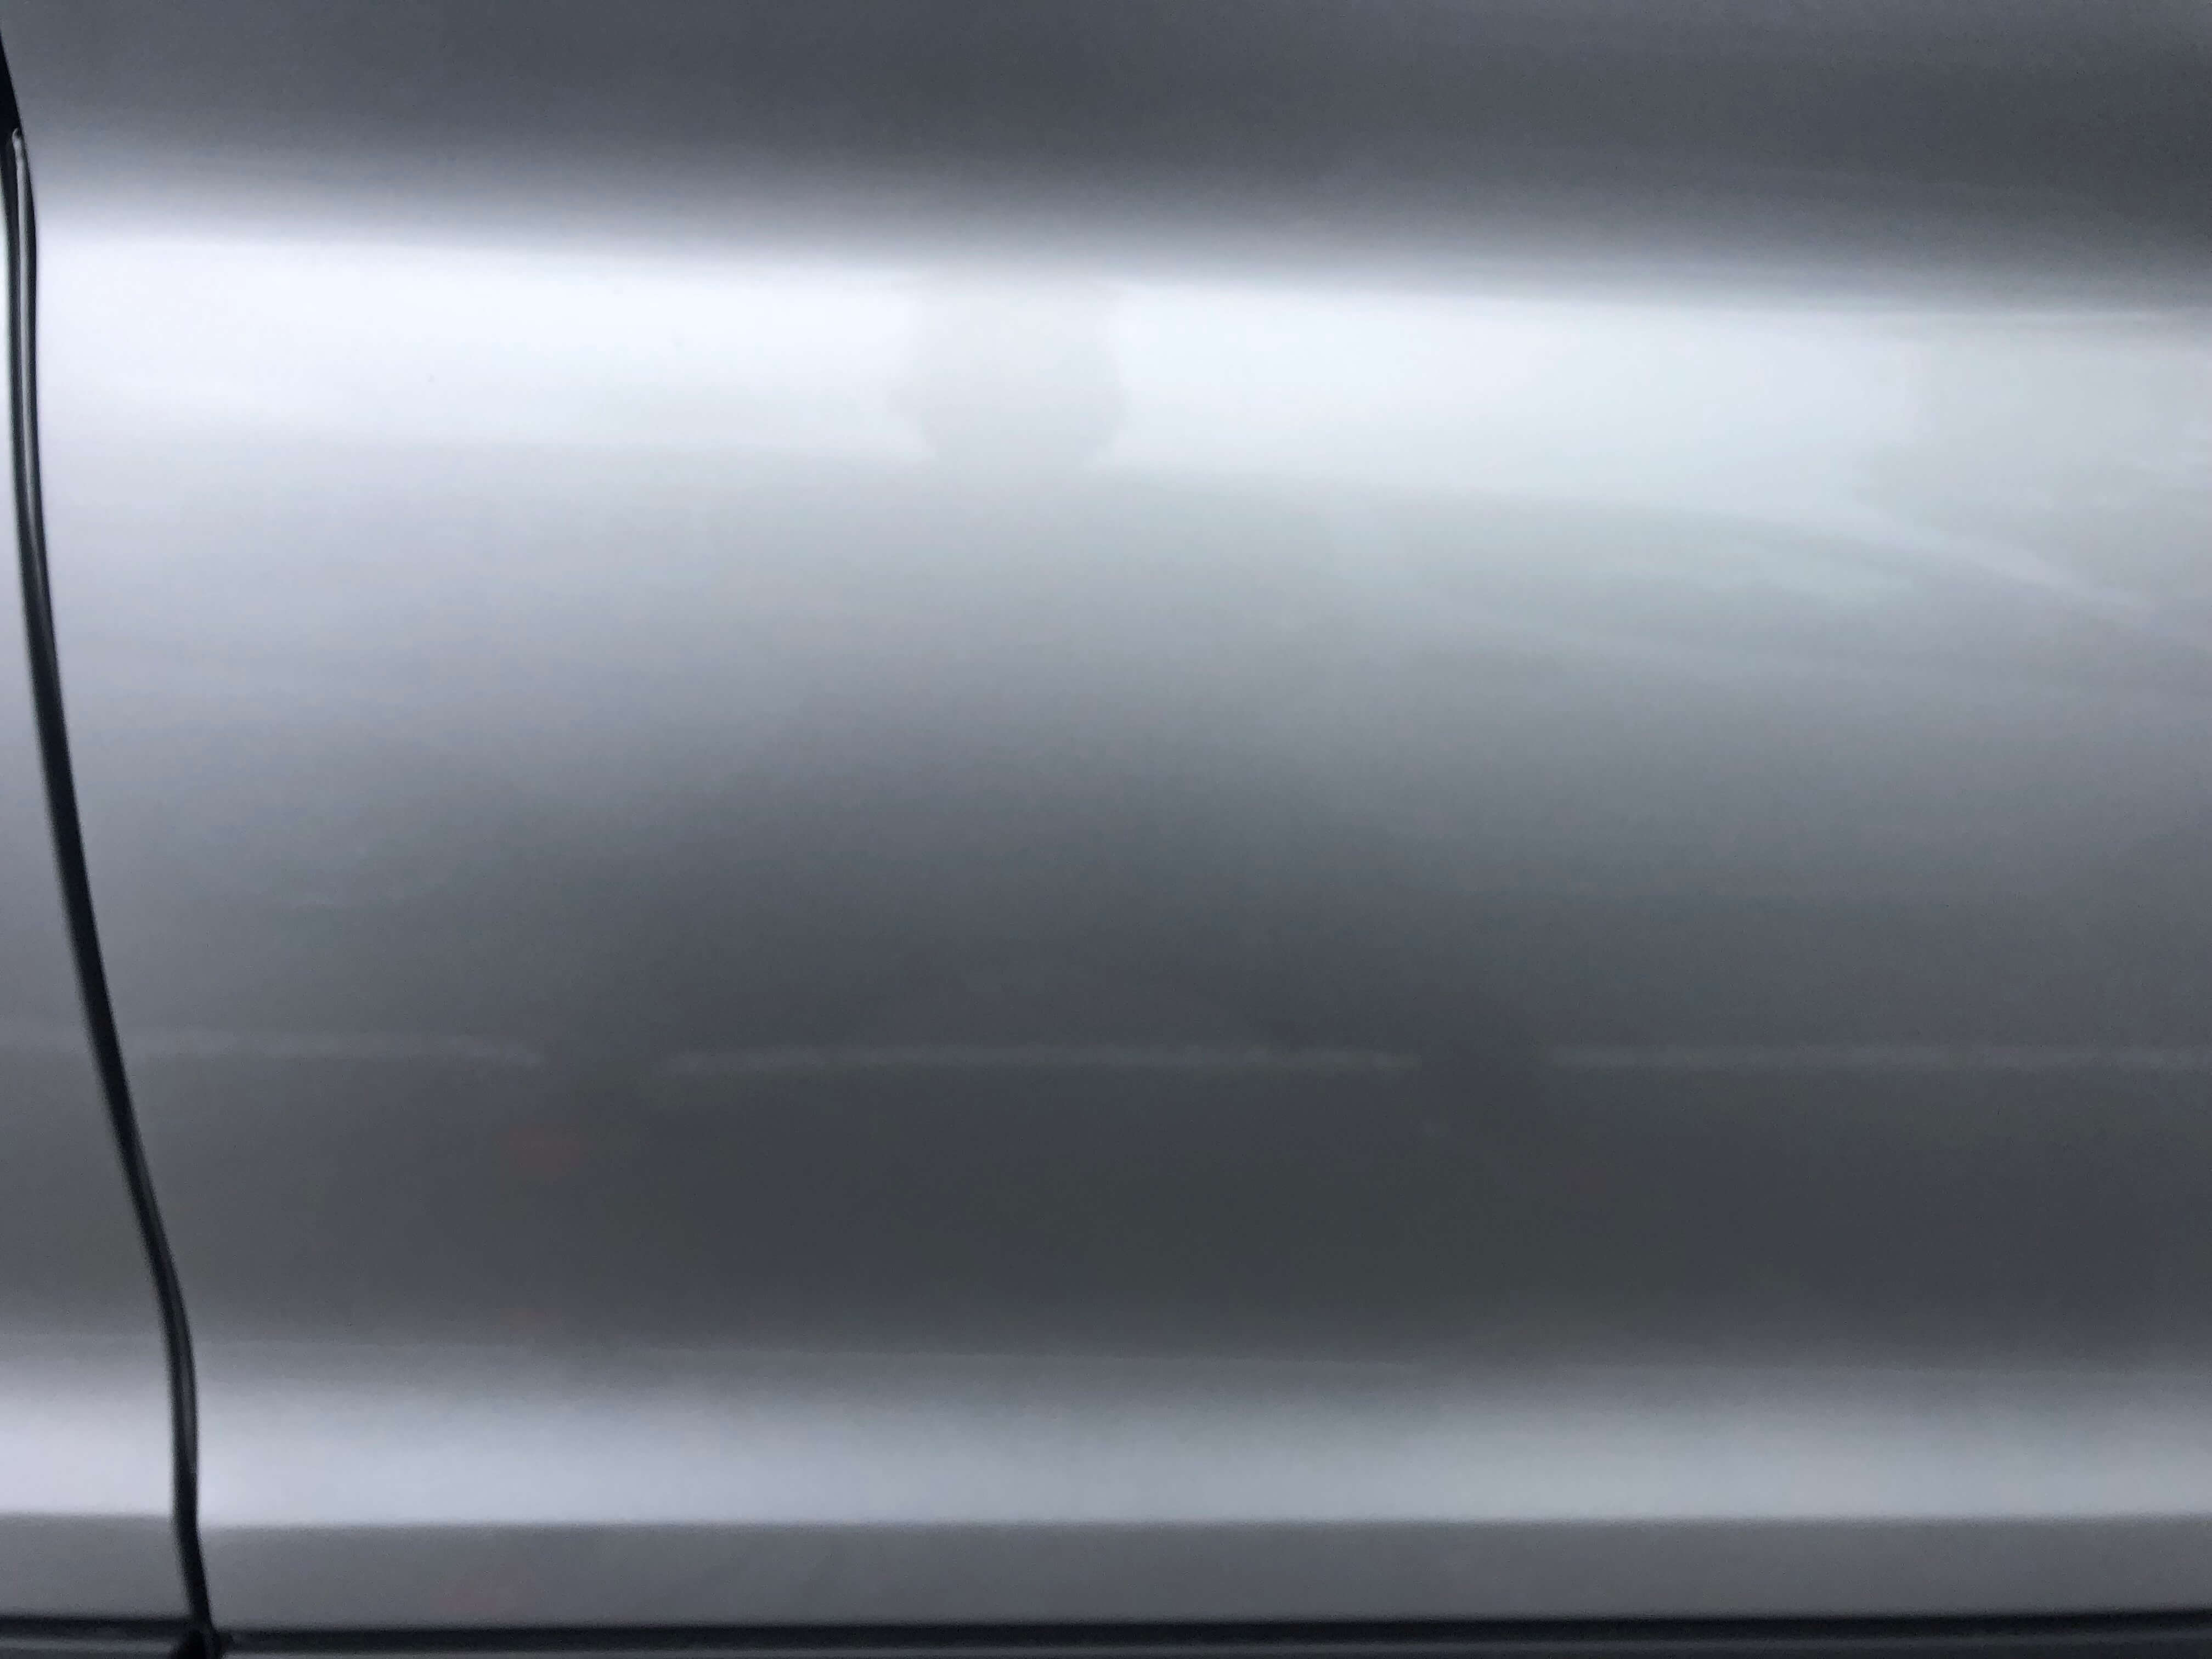
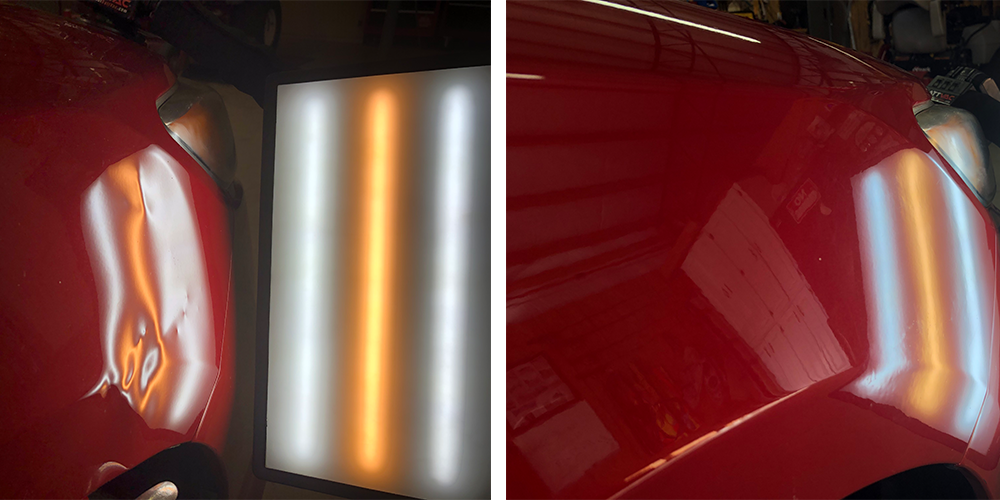
On an undamaged panel, reflected lines and surrounding objects generally flow smoothly across the surface. A dent bends those reflections. The way the reflected image curves can make a low spot, ridge, crown, or body-line distortion easier to recognize.
You do not need to edit the photograph or draw circles around the damage. In fact, heavy image filters, artificial contrast, or markup over the dent can make assessment harder.
Whenever possible, photograph the car in even daylight or another well-lit area. Position yourself so something with visible lines or contrast reflects across the damaged panel. A garage opening, building, fence, or nearby straight lines can sometimes make the panel shape easier to interpret.
Avoid extremely dark photographs and strong glare that completely washes out the damage.
How Paint Condition Affects Repair Options
Photos are useful for more than showing the dent itself. They should also give the technician a reasonable view of the paint surface.
Paint condition is important because PDR is intended to reshape suitable damage while preserving the existing finish. PDR is a method that removes dents without adding paint or body filler.
That makes clear photographs of scratches, chips, or cracked paint valuable during an initial assessment.
If the paint appears intact, the technician can consider whether the dent may be suitable for a paintless approach. If the finish is visibly split or missing, that information can change the recommendation even when the dent itself appears relatively small.
What Vehicle and Damage Details Should You Include?
Pictures are much more useful when they are accompanied by basic vehicle information.
Include:
- Vehicle year
- Make
- Model
- Damaged panel, such as front passenger door or rear quarter panel
- Approximate dent size
- Whether the paint is scratched, chipped, or cracked
- Whether the panel has been repaired or repainted before, if known
- What caused the damage, if known
- Your location for mobile service
If the dent resulted from a door ding, parking-lot impact, hail, or another known event, mention it. You do not need to diagnose the damage yourself. The goal is simply to give the technician context.
For car door dent repair, it can also help to mention whether the door opens and closes normally or whether you have noticed damage near the edge of the panel.
For larger damage, avoid describing it only as needing large dent removal. Include a wider photograph with an object-free view of the surrounding panel so the technician can evaluate the overall footprint rather than relying on your estimate of its dimensions.
Here’s a broader guide explaining How do you get an estimate to fix a dent in a car? This article focuses specifically on getting useful photos ready for that assessment.
How Door Braces and Access Affect the Repair
A photograph shows the outside of a car door. A technician still has to consider what may be located behind it.
Doors can contain window mechanisms, reinforcement beams, wiring, braces, mounting hardware, and other structural components. Depending on where the dent falls, those components may affect how easily a PDR tool can reach the backside of the damaged area.
This is one reason the vehicle year, make, and model matter. The technician needs more than a close-up of the dent to understand the potential repair.
A wider photograph can also show whether the damage sits close to an edge, handle, body line, window opening, or another area where access may be restricted.
What Can a Photo Assessment Not Establish?
A photo assessment is useful, but it is still an initial assessment.
Even excellent photographs may not establish:
- Exact access behind the panel
- The precise amount of metal stretch
- Whether a hidden brace sits directly behind the dent
- The full condition of previously repaired paint
- Subtle high and low areas that do not show clearly in photos
- Hidden structural or collision damage
- Whether trim or interior components need to be removed for access
A photograph also cannot show how the metal responds when a technician begins working it.
That means a photo-based quote or initial opinion may need to be confirmed once the vehicle is inspected in person.
This distinction is especially important when damage is sharp, located on a body line, unusually deep, or associated with a larger collision.
The purpose of the photographs is not to replace an inspection. They help the technician decide whether a mobile pdr dent repair appointment appears appropriate and what type of damage they should expect when they arrive.
When Conventional Bodywork is More Appropriate
Photos may also reveal clues that the vehicle needs something other than PDR.
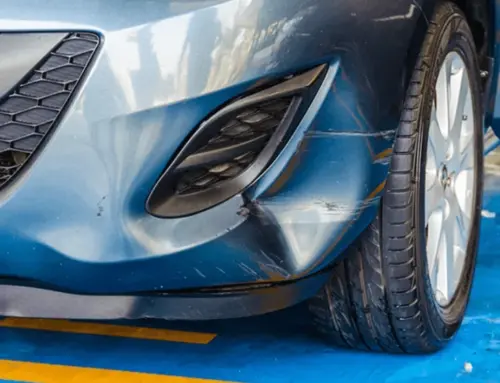
For example, a technician may notice clearly cracked paint, torn metal, severe deformation, or collision damage that appears to extend beyond a typical dent. In those circumstances, conventional body repair may be more appropriate.
PDR suitability can depend on factors such as the dent’s depth, size, location, vehicle, and type of damage.
That is why the photograph should show the entire damaged area rather than only the point where the impact occurred.
If a dent extends through several contours or causes a large surrounding area to buckle, a wide image becomes particularly important. The technician needs to see how much panel movement surrounds the obvious low spot.
Should You Photograph Scratches Separately?
Yes, if the dent includes visible paint damage.
Use one image to show how the scratch or chip relates to the dent rather than using every available photo slot for paint close-ups. If necessary, one closer image can show whether a mark appears superficial or whether the finish is visibly broken.
Do not wet the panel, polish it immediately before taking pictures, or use image effects to make the surface appear smoother. The technician needs a realistic view of its current condition.
If you are unsure whether a line is a scratch, paint transfer, or reflection, mention that uncertainty in the submission rather than trying to remove it before taking photographs.
Submitting Photos for a Mobile Appointment in Charlotte
If you want an initial assessment from Piedmont Dent Repair, start with three clear, unedited photos:
one full-panel view, one close view, and one angled reflection view.
Include the year, make, model, damaged panel, and location of the vehicle.
Piedmont Dent Repair’s allows up to three vehicle-damage photos at 3 MB each through its contact form.
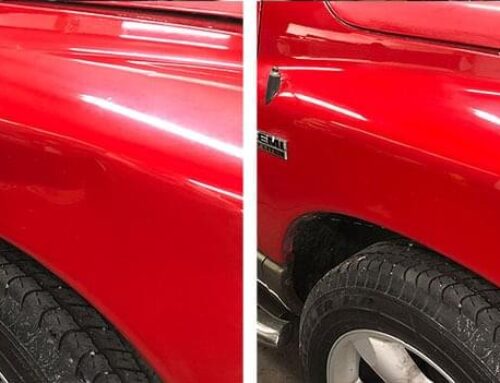
You can learn more about mobile paintless dent repair or view Paintless Dent Removal – Before and After Photos before submitting your damage.
Good photos do not guarantee that a dent can be repaired with PDR, and they do not replace an in-person inspection.
They do make the first conversation more useful.
Send clear views that show the panel honestly, include the vehicle and location details, and let the technician determine whether the damage looks like a reasonable candidate for mobile paintless dent repair.